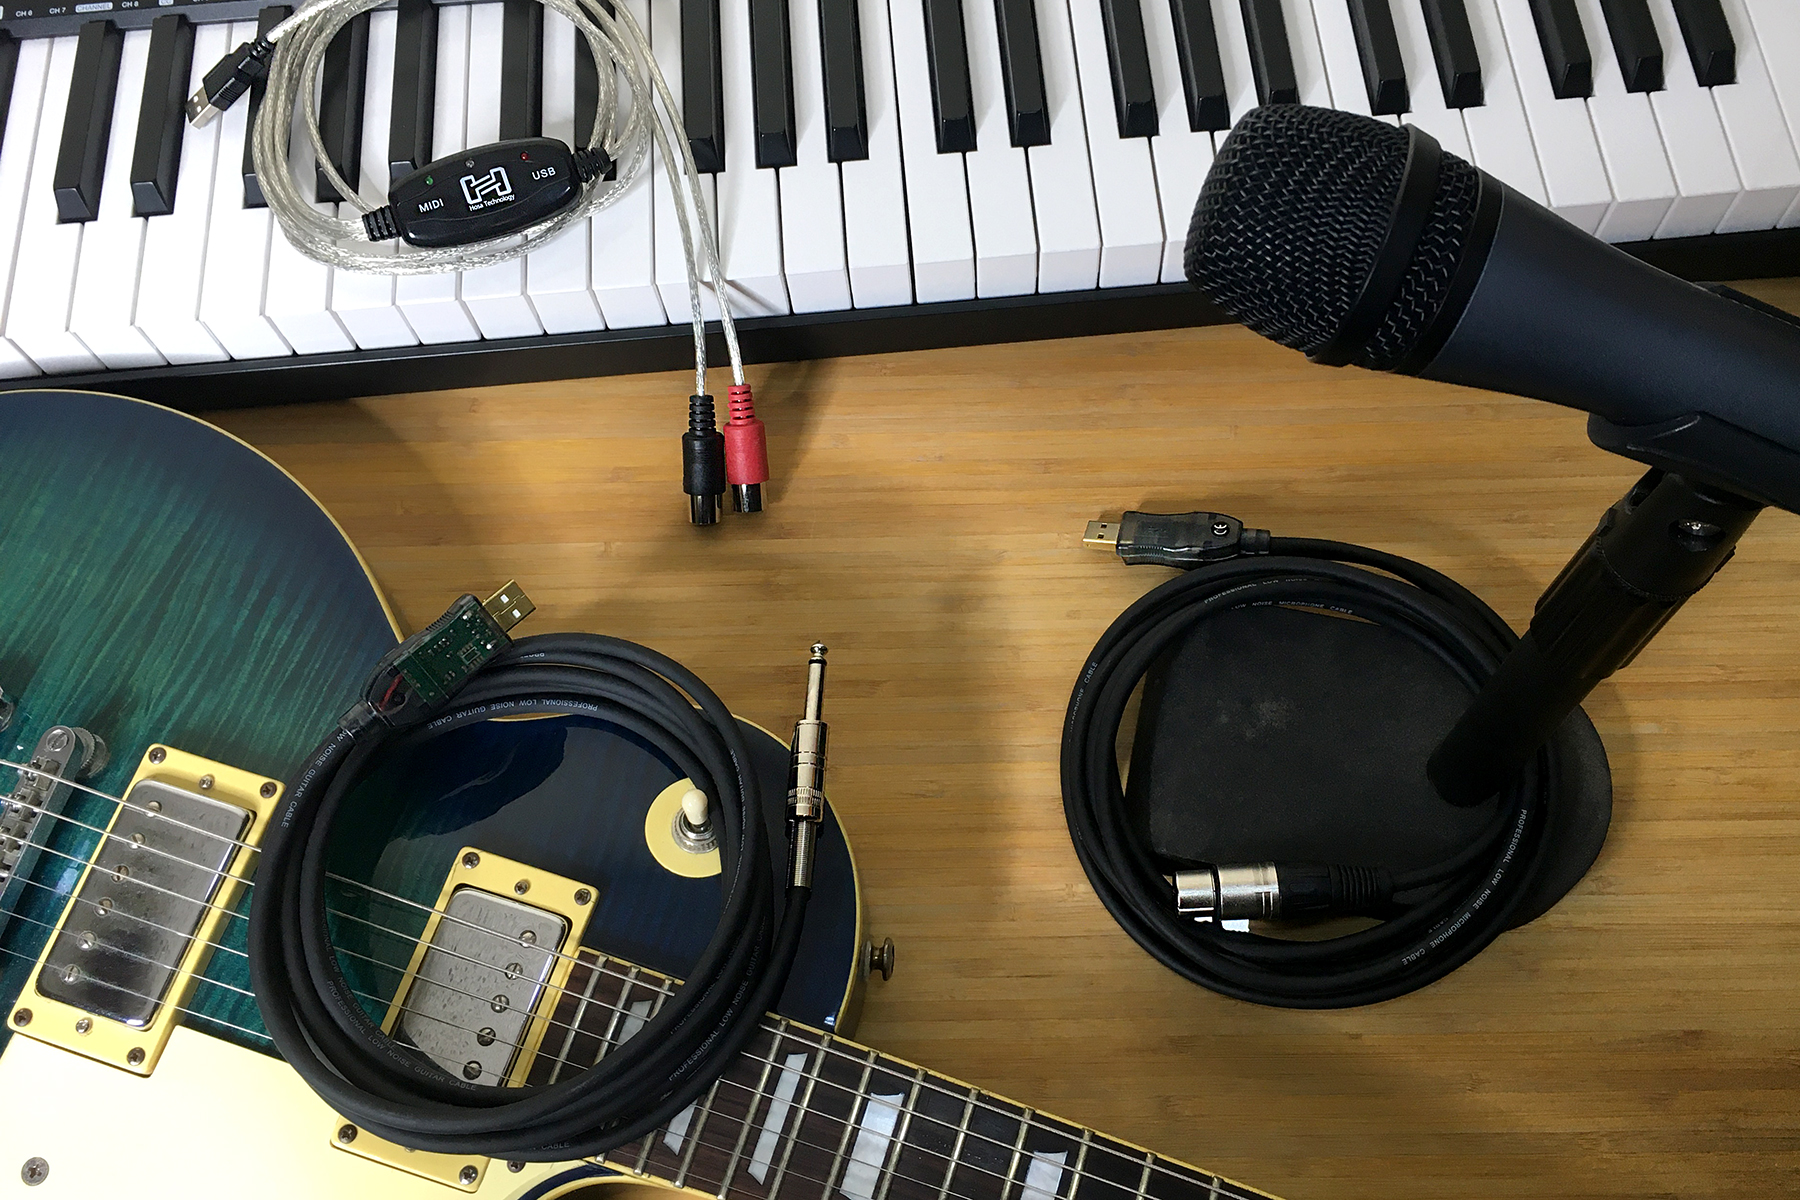
Hosa’s TRACKLINK USB interfaces give players and creators the option of bypassing a traditional audio interface in order to record or practice. TRACKLINK interfaces are USB cables with ¼ inch, XLR, or MIDI connectors on one end meant for guitar, microphone, and keyboards.
Getting set up with TRACKLINK is quick, easy, and convenient. We’ll take you through the setup steps for both Mac and Windows operating systems, but bear in mind there may be some variation as operating systems (OS) are often updated. The same rule applies to the recording software (DAW) you’re using, since all have some degree of difference in how they arm inputs.
XLR or ¼ inch to USB
First start by plugging the UXA-110 into a microphone, the USQ-110 into a guitar or ¼ inch output, then directly into your computer and follow the directions below based on your OS:
Mac OS 10.0 or later
- Go to Apple Menu > System Preferences and click Sound
- Click the “Input” tab
- Select “USB PnP Sound Device”
- Input level of your computer should reflect incoming signal
- Click the “Output” tab
- Verify your normal output option is selected
- Close window
Windows 10
- Allow Windows to install the driver before proceeding
- Go to Start Menu > Windows System > Control Panel
- In Category View, open Hardware & Sound
- Open Sound
- In “Playback” tab, select your desired playback option and click the “Set Default” button
- Click the “Recording” tab
- Select “USB PnP Sound Device” and click the “Set Default” button
- You can verify and adjust input levels by clicking the “Properties” button
- If you made any changes, click the “Apply” button
- Click the “Okay” button
*If you have Windows 7 or Vista, here are links to additional instructions for the UXA-110 and USQ-110.
Start Recording with Your TRACKLINK
Each software will be a little different, but it is important to select the TRACKLINK USB interface as input only and arm your audio track. Make sure the levels are low enough so you don’t pick up unwanted noise.
Below are quick visual guides for setting up your TRACKLINK USB interface:
MIDI to USB
First start by plugging the USM-422 into your keyboard, synthesizer, or drum machine, and then directly into your computer. Be sure that the red input is plugged into your keyboard’s output, and the black output is plugged into your keyboard’s input, then follow the directions below based on your OS:
Mac OS 10.0 or later
- Go to Applications > Utilities and open Audio MIDI Setup.app
- If MIDI window is not visible, go to the top menu and select Window > Show MIDI Window
- Verify an active device named “USB 2.0 MIDI” exists
- Highlight device and select “Test Setup”
- Clicking the arrow pointing out of the USB 2.0 MIDI icon should cause the green light on the TRACKLINK interface to flicker
- Playing keys on your MIDI keyboard should cause the blue light to flicker and the IN arrow in the computer’s MIDI window to become active
- If the test succeeds as explained above, close the window
Windows 10
- Allow Windows to install the driver before proceeding
- Go to Start Menu > Windows System > Control Panel
- In Category View, open View Devices & Printers under the Hardware & Sound category
- Confirm “USB 2.0 MIDI” icon is present
- Close Control Panel
*If you have Windows 7 or Vista, you can find additional instructions here.
Functions and Indicators
• Solid red LED indicates proper USB connection
• Flashing green LED indicates MIDI transmission from computer
• Flashing blue LED indicates transmission from MIDI controller
Start Recording
Remember that MIDI transfers only data, not audio, so you need to arm the MIDI track in your DAW with a sample. A demonstration for how to assign the input and arm the track for PreSonus Studio One can be seen here:
Below is a quick visual guide for setting up your TRACKLINK USB MIDI interface:
TRACKLINK Limitations
It’s important to note that any cable of this variety is taking the place of a traditional audio interface, and thus all of the analog-digital conversions happen inside the cable. Given the size and component limitation, you can sometimes pick up extra noise or experience some latency. These are not meant to be a 1:1 direct replacement for a proper audio interface, but rather a simple and affordable solution for beginners or those who don’t feel a traditional interface is necessary for their limited purposes.
For more information on where to purchase a TRACKLINK USB interface, you can find a local or online Hosa reseller here.
- Hosa